
Anyone who has whisked cream by hand knows how tiring it can be, and how easily it can tip over into grainy butter. A cream dispenser offers a faster and more consistent alternative, producing smooth, airy cream in well under a minute. It also stores neatly in the refrigerator between servings, which cuts waste. This guide explains how the equipment works, which ingredients matter most, and which habits separate café-quality results from disappointing ones, so beginners and experienced cooks alike can serve better desserts at home.
How a Cream Dispenser Works
A dispenser is a sealed, pressure-rated bottle fitted with a nozzle and a charger holder. When a food-grade nitrous oxide charger is released into the bottle, the gas dissolves into the fat in the cream. Pressing the lever lowers the pressure, the gas expands, and the cream emerges as a light, stable foam. Because the process relies on fat content and temperature rather than whisking, results stay predictable from one batch to the next, which is why many professional kitchens depend on it.
Choosing the Right Cream
Fat content decides whether your foam holds its shape for long enough. Look for whipping or double cream containing roughly thirty to thirty-six per cent fat, since lighter products collapse quickly once dispensed. Fresh cream with a long date remaining performs better than cream approaching expiry, and cream taken straight from a cold refrigerator whips best. Sugar and flavourings should be dissolved first, and powdered sugar works best because it mixes smoothly and never leaves gritty particles behind that could block the nozzle.
Preparing the Dispenser
Start by chilling the empty bottle in the refrigerator for about fifteen minutes, because cold surfaces help the fat stay firm. Check that the gasket sits flat inside the head and that the nozzle is clean, dry and free from any leftover residue. Pour in the cream and any sweetener, never exceeding the maximum fill line marked on the bottle. Overfilling leaves too little space for the gas to work and often produces uneven, runny results that disappoint cooks who followed every other step correctly.
Adding the Charger and Shaking
Screw the head on firmly, then place a food-grade charger into the holder and tighten it until you hear the gas release. The correct gas quantity depends on the dispenser’s capacity and charging system. Check equipment compatibility and follow the manufacturer’s specific instructions rather than assuming that all cream dispensers require the same number of chargers. Shake the bottle four or five times with firm, confident movements. Shaking much more than this can easily make the cream too stiff, and it may emerge with a coarse, buttery texture.
Serving and Presentation
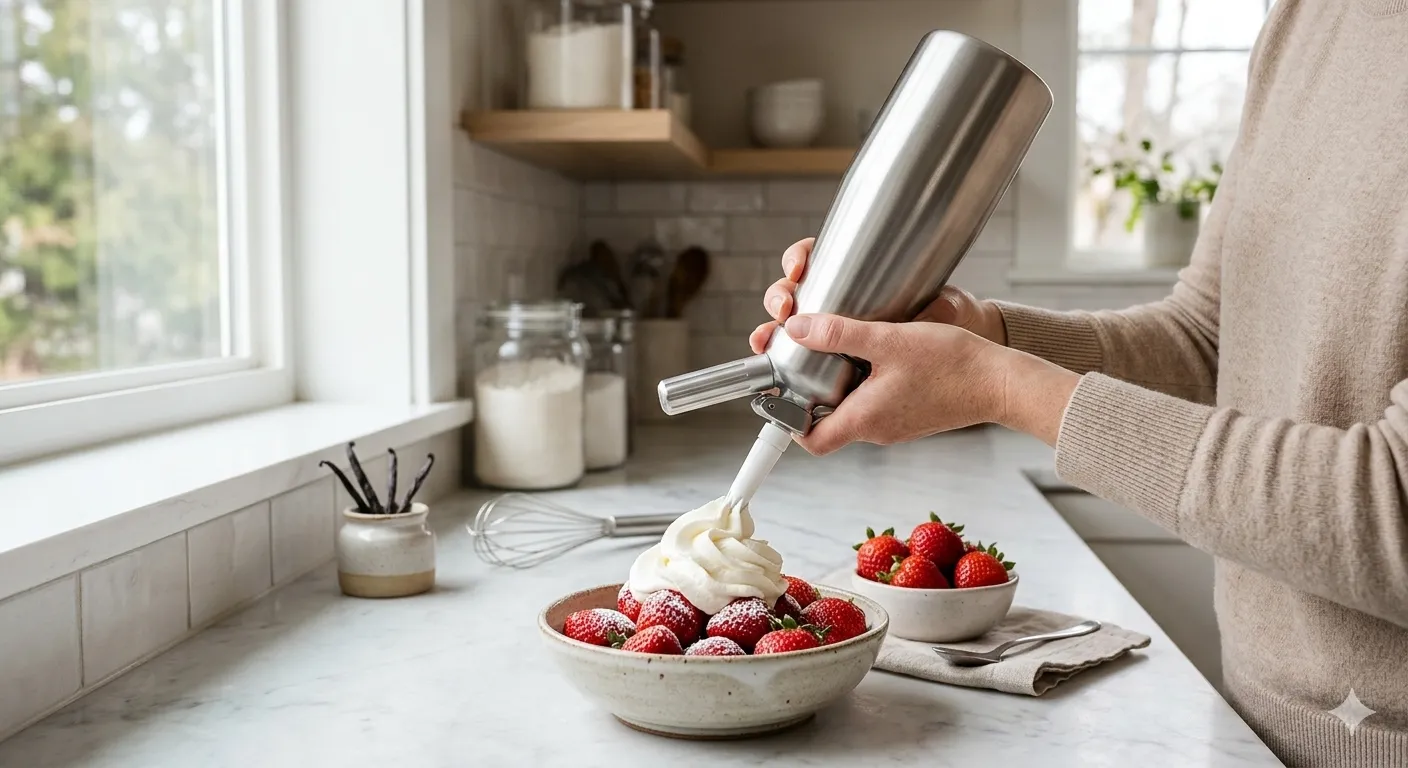
Hold the dispenser upside down and press the lever gently to release the cream. Use a steady hand and move in small circles to create tidy swirls on top of hot chocolate, pies, fresh fruit, pancakes or waffles. Different nozzle tips produce different shapes, so it is worth experimenting with both star and plain attachments. Because the cream is light, glossy and holds its form well, it also suits layered desserts, trifles and verrines, where clean lines make the finished plate look far more professional.
Storing Leftover Cream
Unused cream can remain inside the dispenser in the refrigerator, which keeps it cold and protected from air. Most home cooks use it within a few days, and it should never be kept longer than the use-by date printed on the original cream. Before serving again, give the bottle one gentle shake to restore its smooth texture. If the cream smells sour or looks separated, discard it immediately, since dairy spoils quickly and safe handling always matters more than avoiding waste.
Mistakes to Avoid
The most common error is using low-fat cream, which cannot hold the gas properly and produces a thin, watery foam. Another is skipping cleaning, which allows residue to harden and clog the valve. Some cooks use the wrong gas, but only food-grade nitrous oxide chargers are suitable for cream, and carbon dioxide will curdle it. Finally, avoid forcing a stuck head open. Always release pressure fully through the nozzle first so the bottle can be opened safely without any risk.
Conclusion
Reliable whipped cream depends on three simple habits: chilling the cream, measuring ingredients carefully and maintaining a clean dispenser. Good results also depend on choosing a charging system that is genuinely compatible with the equipment, rather than following generic quantities. Cooks comparing food-grade cream chargers and related culinary supplies can explore smartwhip.eu and check individual product specifications. With sensible preparation and attention to the manufacturer’s guidance, an everyday dessert can have a smooth, professional-looking finish without unnecessary complication.